Installing Colored Label Manger for Jira
Option 1: Installation from within Jira
The App is built on Forge, which means it is hosted by Atlassian itself and no data leaves your instance.
- Log into your Jira instance as an admin
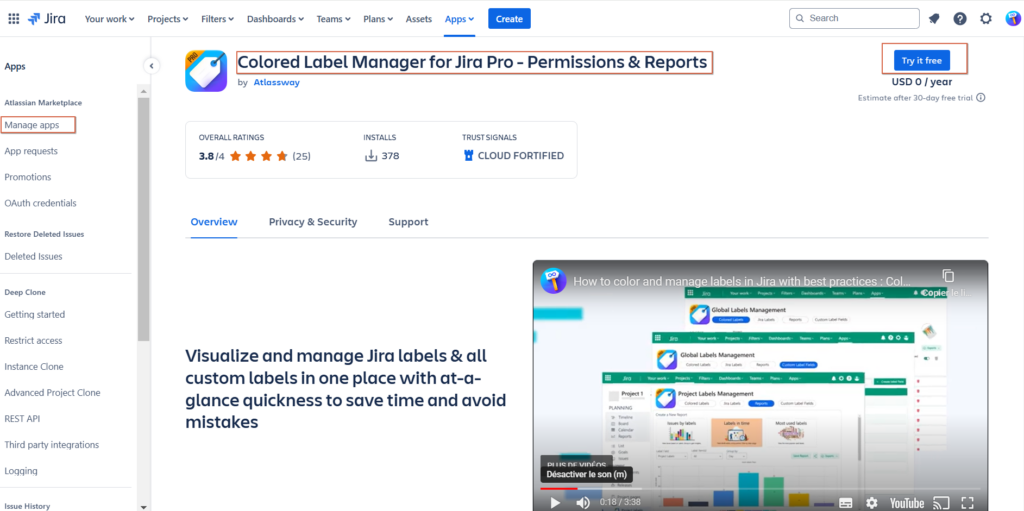
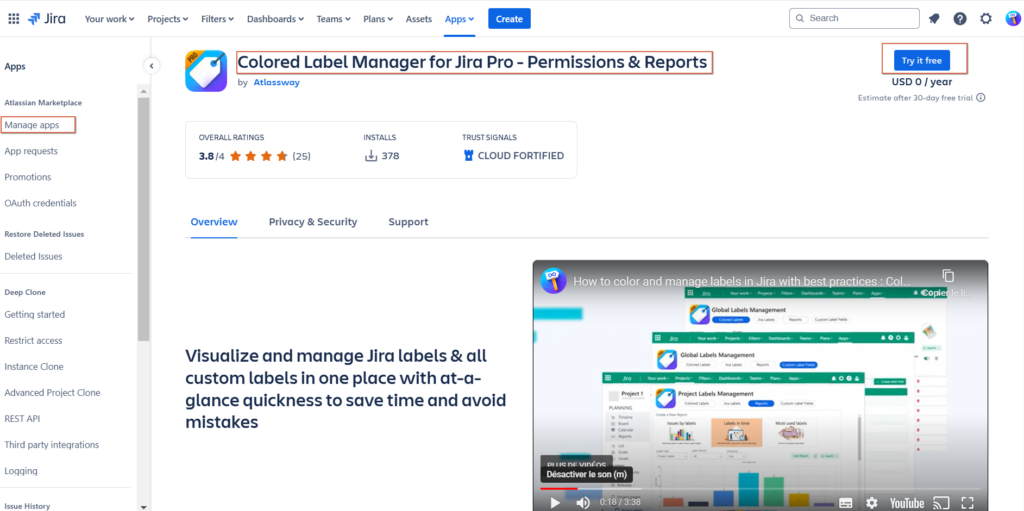
- Go to Settings → Apps → Manage Apps → Find new apps
- Locate Colored Label Manger for Jira
- Click Try it free to download and install your app.
- You’re all set! Click Close in the Installed and ready to go dialog

Option 2: Installation from the marketplace
- Follow the LINK
- Log in with an account that has Jira Administrator Permission on your instance
- Click “Try it free” to start the 30-day trial
- Select your instance

How to create colored label field
You can create many label fields for different use cases: Project Phases, Feature Areas, Definition of Done (DoD), Definition of Ready, Acceptance Criteria or simple Select List.
As Jira Administrator:
- Click on Apps
- Go to → Colored Labels
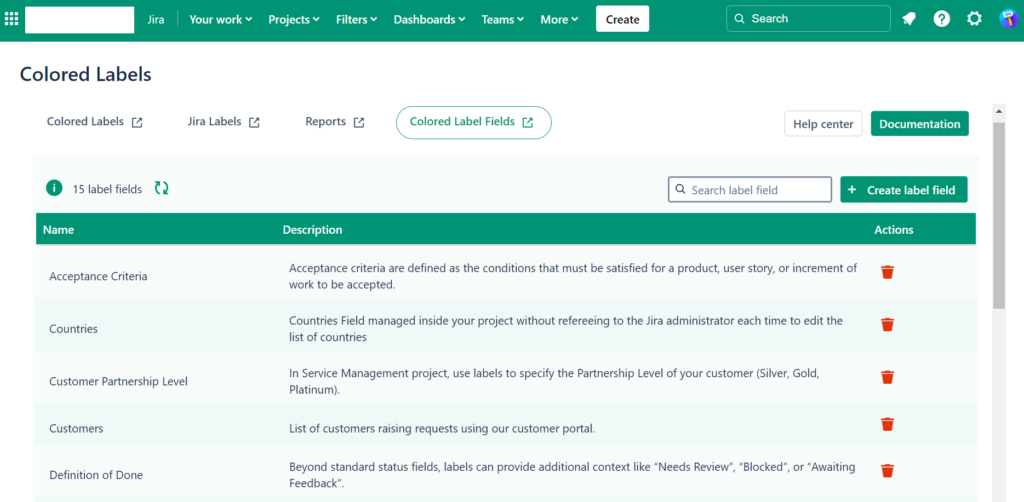
- Click on Colored Label Fields
- Click on Create Colored Label Field
- Enter a Name and Description
- Click Create

In order to use Colored Label Fields in your project, you will need to add them to the appropriate screens.
To check which type of project you are using, look at the bottom of your project’s left-hand sidebar. The text at the bottom of the panel will indicate which type of project you are in.

For Team-managed projects: Select Project settings > Issue types >Choose the issue type you want to add Colored Labels to > Search > Select your Colored Label field.

For Company-managed projects: Select Project settings > Issues > Layout > Choose the Issue types screen you want to add Colored Labels to > Edit Issue Layout > Search and add your Colored Label field


Need help?
Please raise an issue in our Help Center in case of questions or to report a bug, we are here to support you.

